1
2
3
4
环境: 主机:Raspberry Pi B型(第一代国产红版) 系统:2018-11-13-raspbian-stretch (RaspberryPi-9 9.4 armv6l)
由于试了几个新版本,发现我的 USB网卡驱动有点问题,而且我的板子老了,所以选个旧点的系统
apt-get 配置国内镜像 镜像列表: http://www.raspbian.org/RaspbianMirrors
清华大学镜像使用说明:https://mirrors.tuna.tsinghua.edu.cn/help/raspbian/
阿里云镜像使用说明:https://developer.aliyun.com/mirror/raspbian
1 2 3 4 5 deb http://mirrors.tuna.tsinghua.edu.cn/raspbian/raspbian/ stretch main non-free contrib rpi deb-src http://mirrors.tuna.tsinghua.edu.cn/raspbian/raspbian/ stretch main non-free contrib rpi
1 2 deb http://mirrors.tuna.tsinghua.edu.cn/raspberrypi/ stretch main ui
修改完/etc/apt/sources.list和/etc/apt/sources.list.d/raspi.list后,执行sudo apt-get update命令,更新软件源列表
配置root密码 有时候可能需要用到root权限,进行一些操作,而新安装的系统root是默认密码的,需要配置了密码才能使用root
1
2
3
4
5
6
7
8
sudo passwd root su root
更换shell 1 2 3 4 sudo apt-get install zsh sudo chsh -s /bin/zsh
这个时候zsh已经可以使用了,zsh需要一些配置,这里选用oh-my-zsh进行配置
1 2 sh -c "$(curl -fsSL https://raw.github.com/ohmyzsh/ohmyzsh/master/tools/install.sh) "
第一次登陆zsh的shell的配置选项信息:
1 2 3 4 5 6 7 8 9 10 11 12 13 14 15 16 17 18 19 20 21 22 Last login: Wed Mar 17 20:22:34 2021 This is the Z Shell configuration function for new users, zsh-newuser-install. You are seeing this message because you have no zsh startup files (the files .zshenv, .zprofile, .zshrc, .zlogin in the directory ~). This function can help you with a few settings that should make your use of the shell easier. You can: (q) Quit and do nothing. The function will be run again next time. (0) Exit, creating the file ~/.zshrc containing just a comment. That will prevent this function being run again. (1) Continue to the main menu. (2) Populate your ~/.zshrc with the configuration recommended by the system administrator and exit (you will need to edit the file by hand, if so desired). --- Type one of the keys in parentheses ---
安装nginx和PHP 参考官方文档 来安装nginx和PHP
安装nginx
1 2 3 4 5 6 7 8 9 sudo apt update sudo apt install nginx sudo /etc/init.d/nginx start hostname -I
完成安装后,本地可以通过浏览器打开http://localhost/,同一网络下的其他设备可以通过浏览器打开设备IP地址访问到Welcome to nginx的网页
nginx 默认的web文件存放在/var/www/html,可以修改或替换/var/www/html/index.nginx-debian.html,这是Welcome to nginx的网页内容
自定义配置nginx服务器,可以通过修改/etc/nginx/sites-available/defaultnginx的默认配置进行自定义
这些修改需要root权限
安装PHP
现在的系统安装PHP比以前初代的时候方便很多了
1 2 3 4 5 6 7 8 9 10 11 12 13 14 15 16 17 18 19 20 21 22 23 24 25 26 27 28 29 30 31 32 33 34 35 36 37 38 39 40 41 42 43 44 45 46 47 48 49 sudo apt install php-fpm cd /etc/nginxsudo nano sites-enabled/default index index.html index.htm index.nginx-debian.html; index index.php index.html index.htm index.nginx-debian.html; location ~ \.php$ { include snippets/fastcgi-php.conf; fastcgi_pass unix:/var/run/php/php7.0-fpm.sock; } sudo /etc/init.d/nginx reload cd /var/www/html/sudo nano index.php <?php echo phpinfo(); ?>
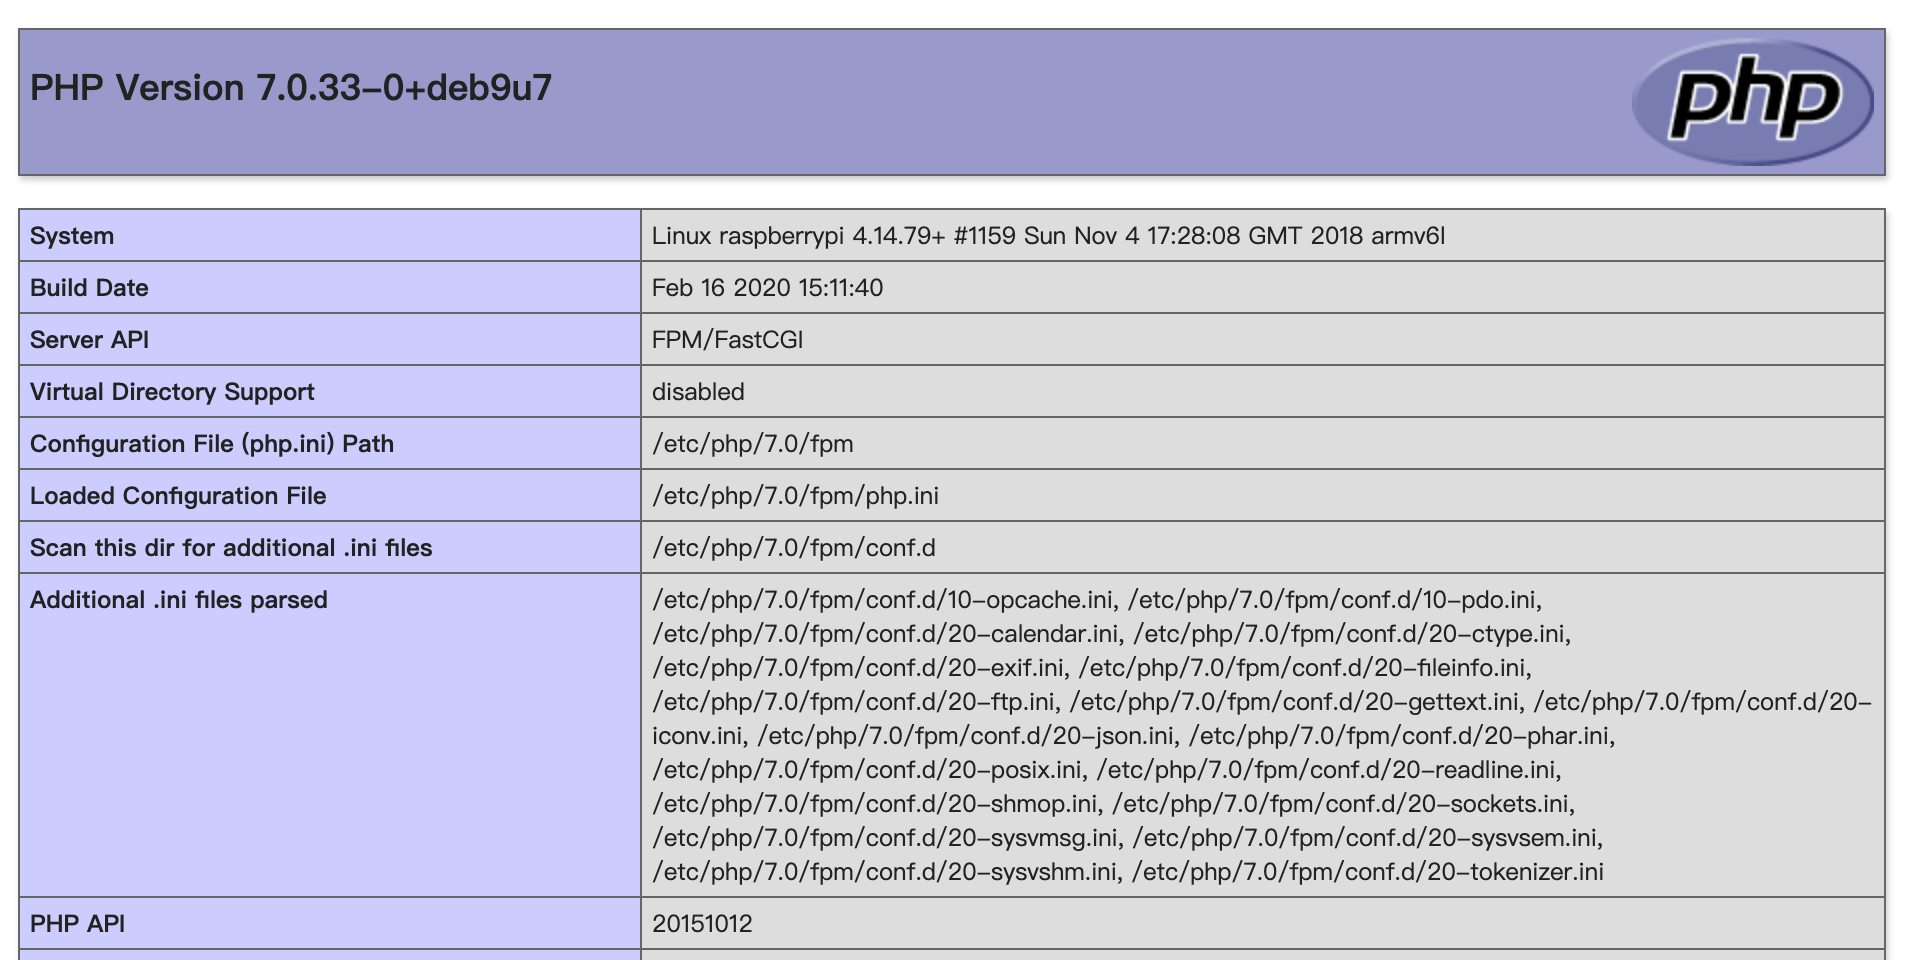
然后通过浏览器打开http://localhost/index.php或者其他同一网络的设备通过浏览器打开http://ip_address/index.php(ip_address=树莓派的ip地址)
如果看到下图的php的版本信息就成功开启PHP服务了
注意,要检查php服务是否启动,如果php服务未启动也无法看到正常信息
1 2 sudo /etc/init.d/php7.0-fpm status
开机启动nginx和php服务
虽然nginx和php都安装配置好了,但是如果设备重启了,还是需要手工将nginx和php服务启动。这时候,就需要利用systemctl来配置开机启动服务了
1 2 3 4 5 6 7 8 sudo systemctl enable nginx sudo systemctl enable php7.0-fpm
安装Tomcat 因为2018-11-13-raspbian-stretch自带有java,所以系统本身就有jdk环境了,可以直接安装Tomcat,不然要先安装jdk环境。
1 2 3 4 5 6 7 8 9 10 sudo apt-get update sudo apt-get upgrade sudo apt-get install tomcat8 sudo /etc/init.d/tomcat8 status sudo /etc/init.d/tomcat8 start
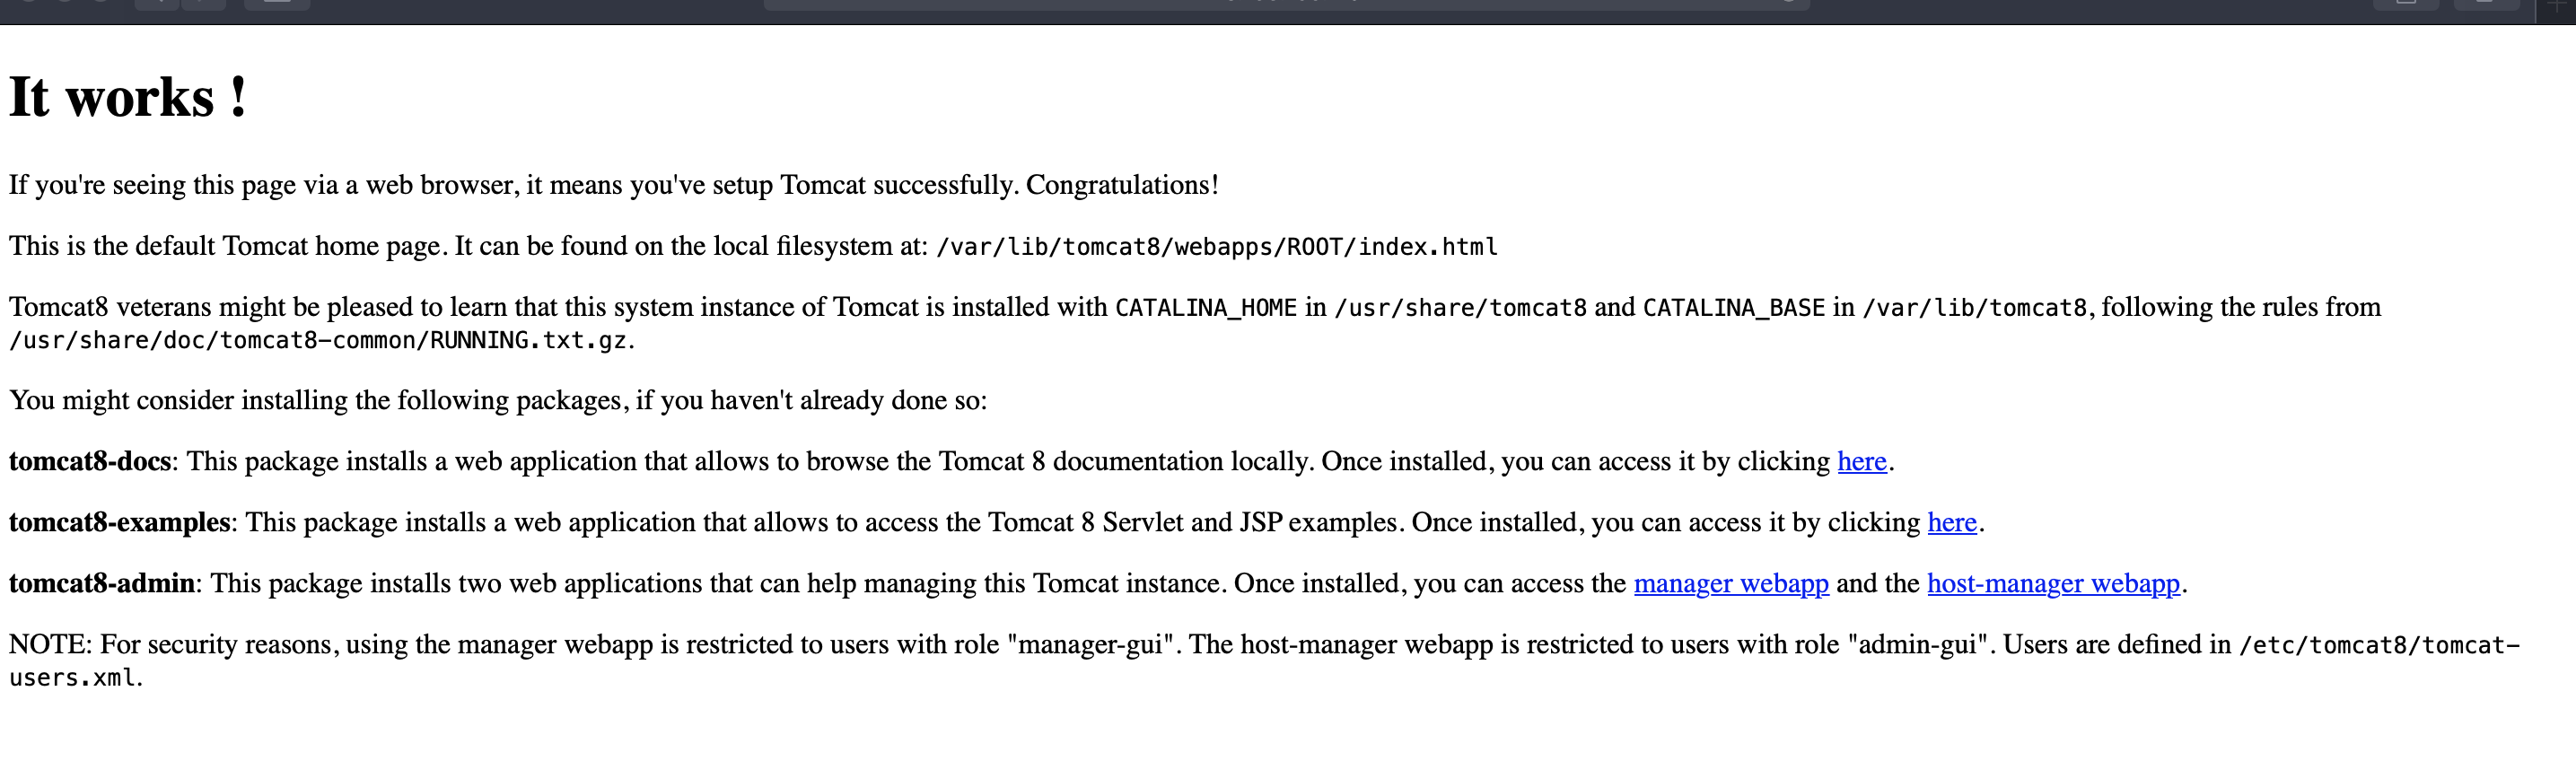
安装好后,就可以通过http://localhost:8080或者其他同一网络的设备通过浏览器打开http://ip_address:8080(ip_address=树莓派的ip地址) 查看
看到这个👇页面就说明Tomcat成功安装并运行了
如果Tomcat的默认端口是8080,如果被占,可以关闭占用的服务或者修改Tomcat的端口
先查看一下端口情况
1 2 3 4 5 6 7 sudo netstat -tunlp | grep 8080 sudo apt-get install lsof sudo lsof -i:8080
修改Tomcat的端口(由于有其他服务需要在8080上运行,所以选择修改Tomcat的端口)
1 2 3 4 5 6 7 8 9 10 sudo nano /etc/tomcat8/server.xml <Connector port="8080" protocol="HTTP/1.1" connectionTimeout="20000" redirectPort="8443" /> sudo /etc/init.d/tomcat8 restart